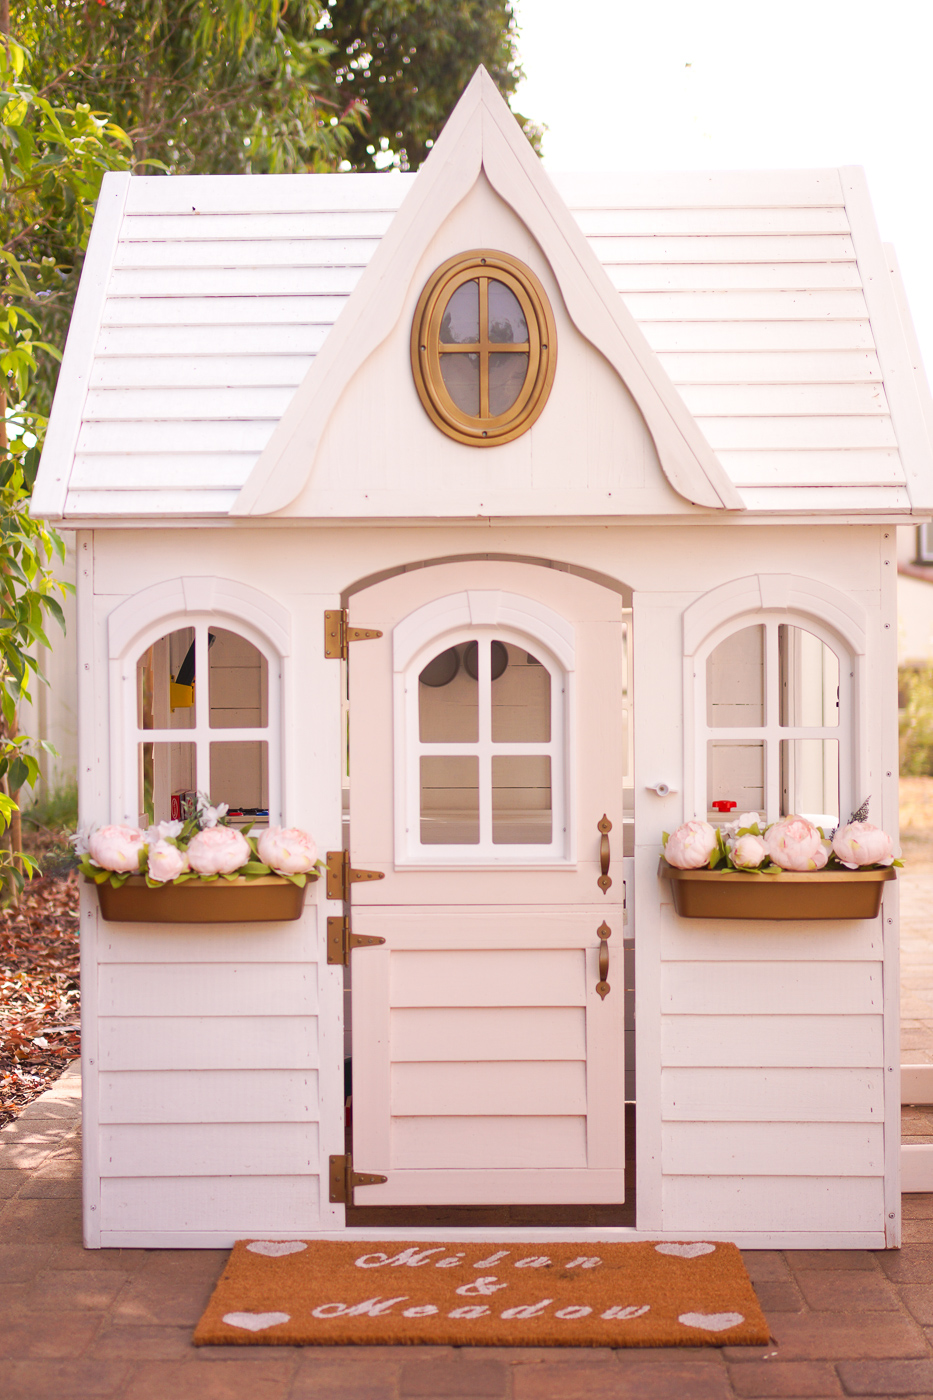
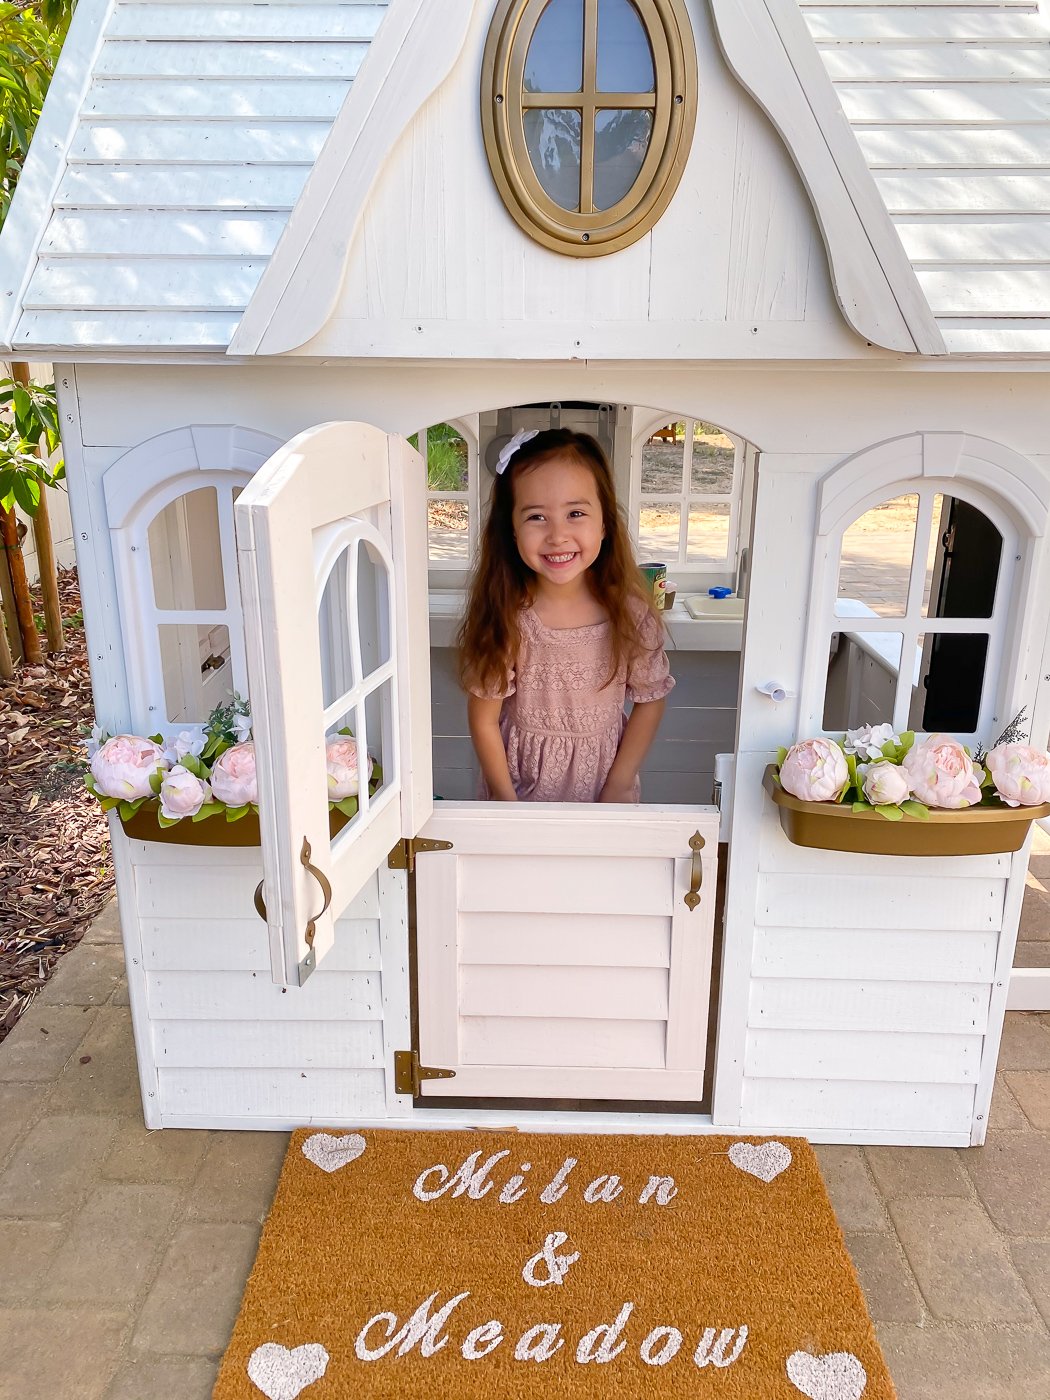
I’m so excited to share this DIY playhouse that Mr. Right built for Milan and Meadow!
I’ve had this playhouse sitting in the box since Milan and I were living in our rental home back in late 2018. I was building a house and wanted to wait until then to put it together for her. I ended up cancelling escrow a week or so before I was supposed to close (long story and a private matter). If you want to see the home, you can read about it HERE.
The current house I’m living in now was purchased as new construction so the backyard was unfinished which made it easier to put this house together. Mr Right built our patio all by himself laying each paver by hand (he’s amazing). Once that was finished, he started building this playhouse. The reason why I’m telling you all this is to give you a little back story on how long I’ve waited for this. It’s even more special now because both of my babies can use it!
FYI, the playhouse doesn’t come like this! I wish it did because it was a lot of work…not so much for me but for Mr. Right. Here are some steps to help make it easier for you if you decide to tackle on this big DIY project. I got my inspiration here from my friend Tanya who is also a fellow Minnesotan.
When you first open the box (it’s super big and heavy), the first thing you should do is lay out all the pieces on a large tarp outside. It’s best to organize all the pieces to make it easier to prime and paint. This takes a lot of time and but trust me it’s worth it since there are a million pieces!
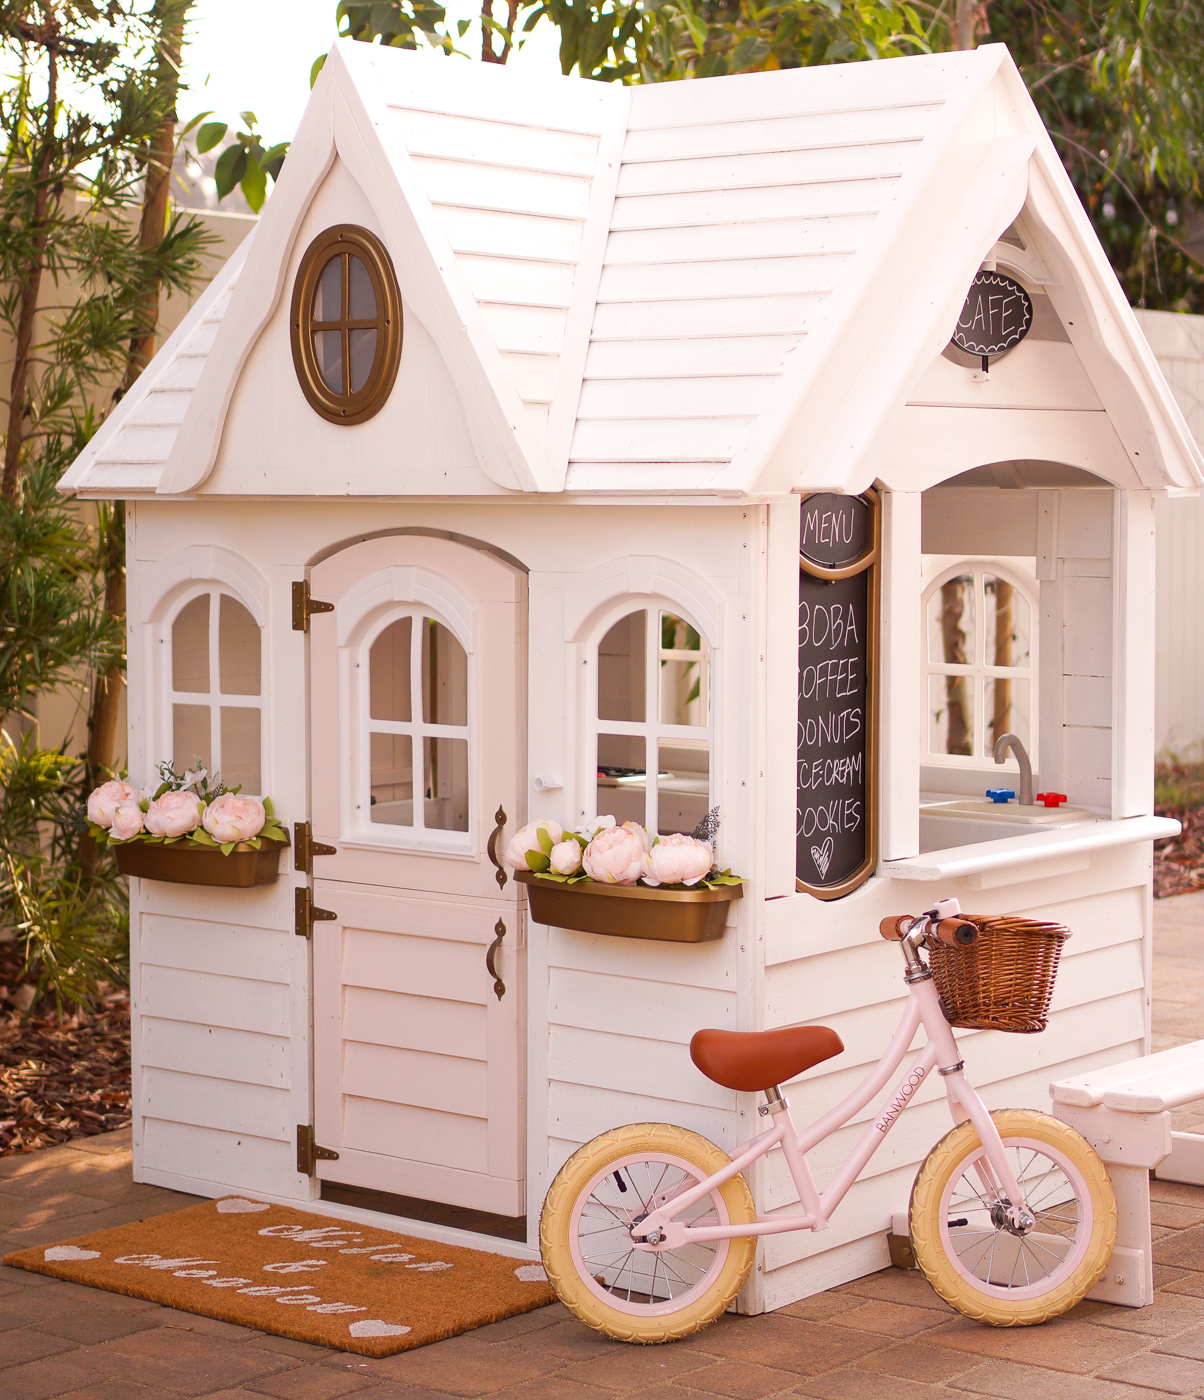
Set aside the pieces that you want spray painted gold and the pieces you want painted pink (door, shutters and bench). We used this color HERE. The gold pieces (hinges, oval window, flower baskets) do not need to be primed since the spray paint acts as a paint and primer. As for the pieces that are pink, we used Sherwin Williams Intimate White paint (exterior paint). This is the exact same color that I used for Meadow Ivy’s nursery and my home office except I used interior paint instead.
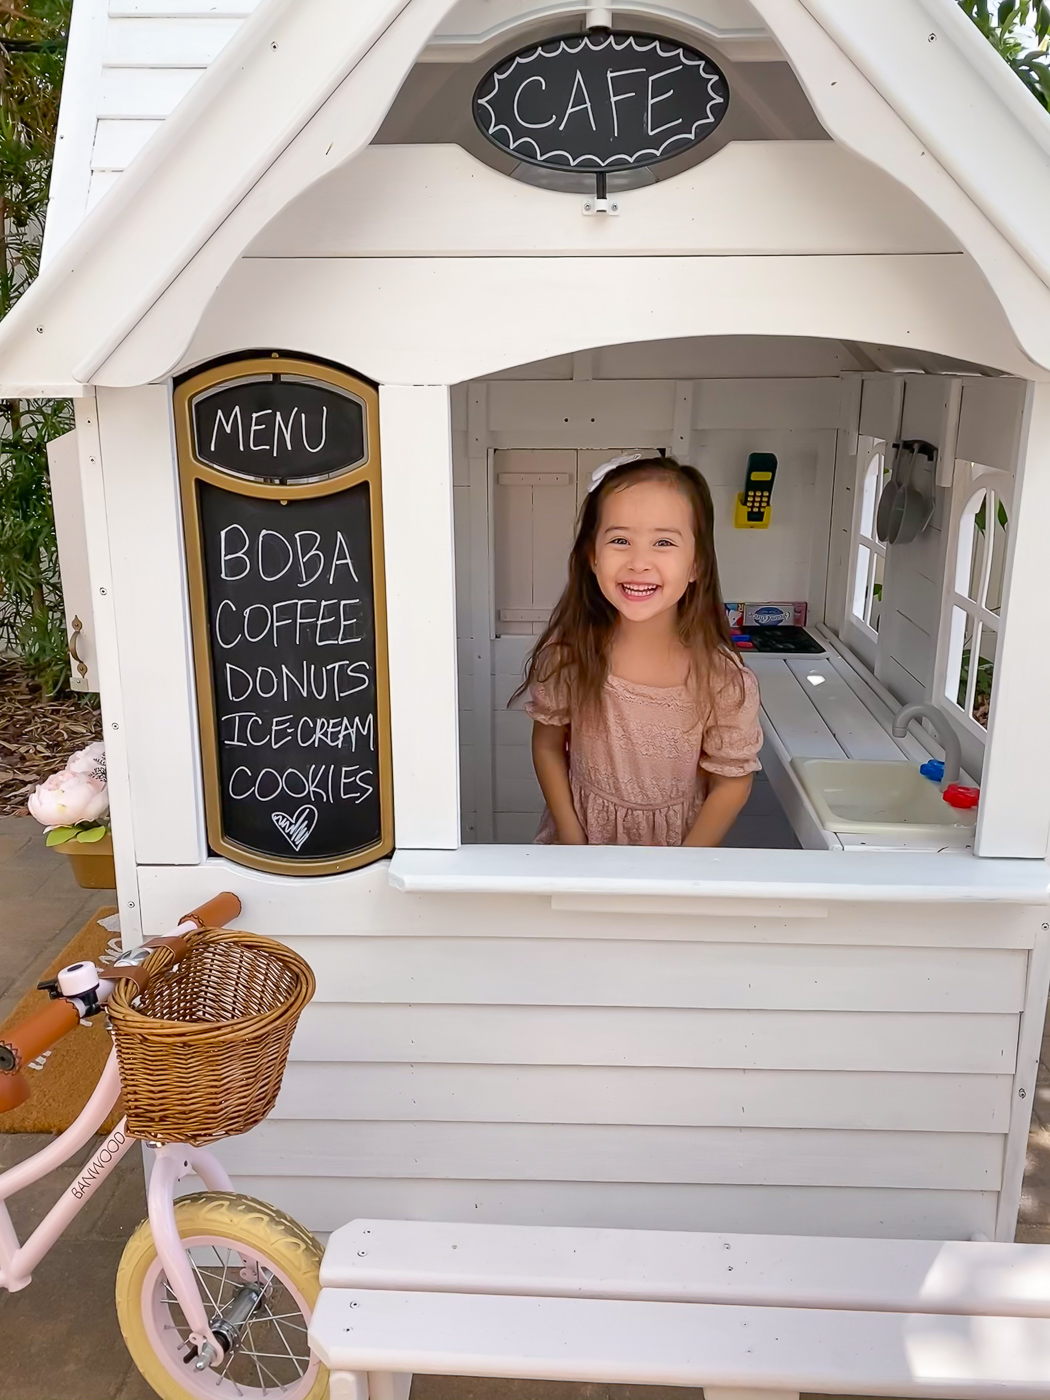
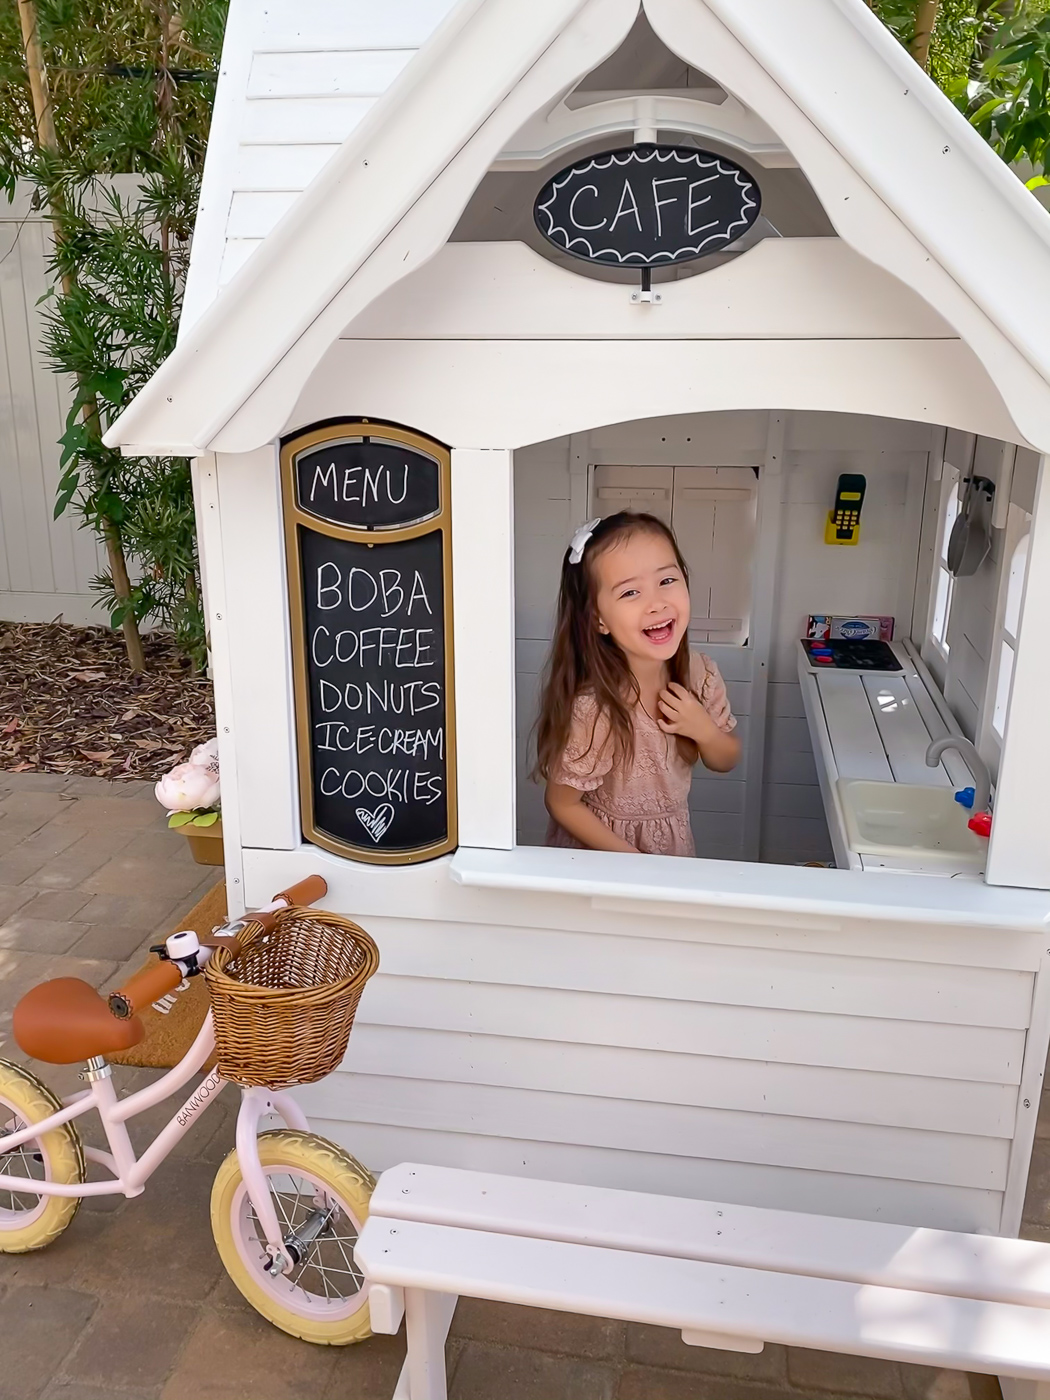
Milan’s dress HERE | Milan’s balance bike HERE | Hair bow: c/o Elle Bowtique
Next step is to prime and paint. You can purchase white paint that already has primer in it but Mr. Right preferred to prime everything first and then paint it. There is no wrong way but if you are trying to save time, I would get white paint with primer built in like THIS ONE.
You can also choose to hand paint each piece or use a spray gun. Either way is fine and a spray gun would make things go faster. There are some pieces that will require hand painting so keep this in mind. Mr. Right is very meticulous so he opted to hand paint each piece. Bless his heart!
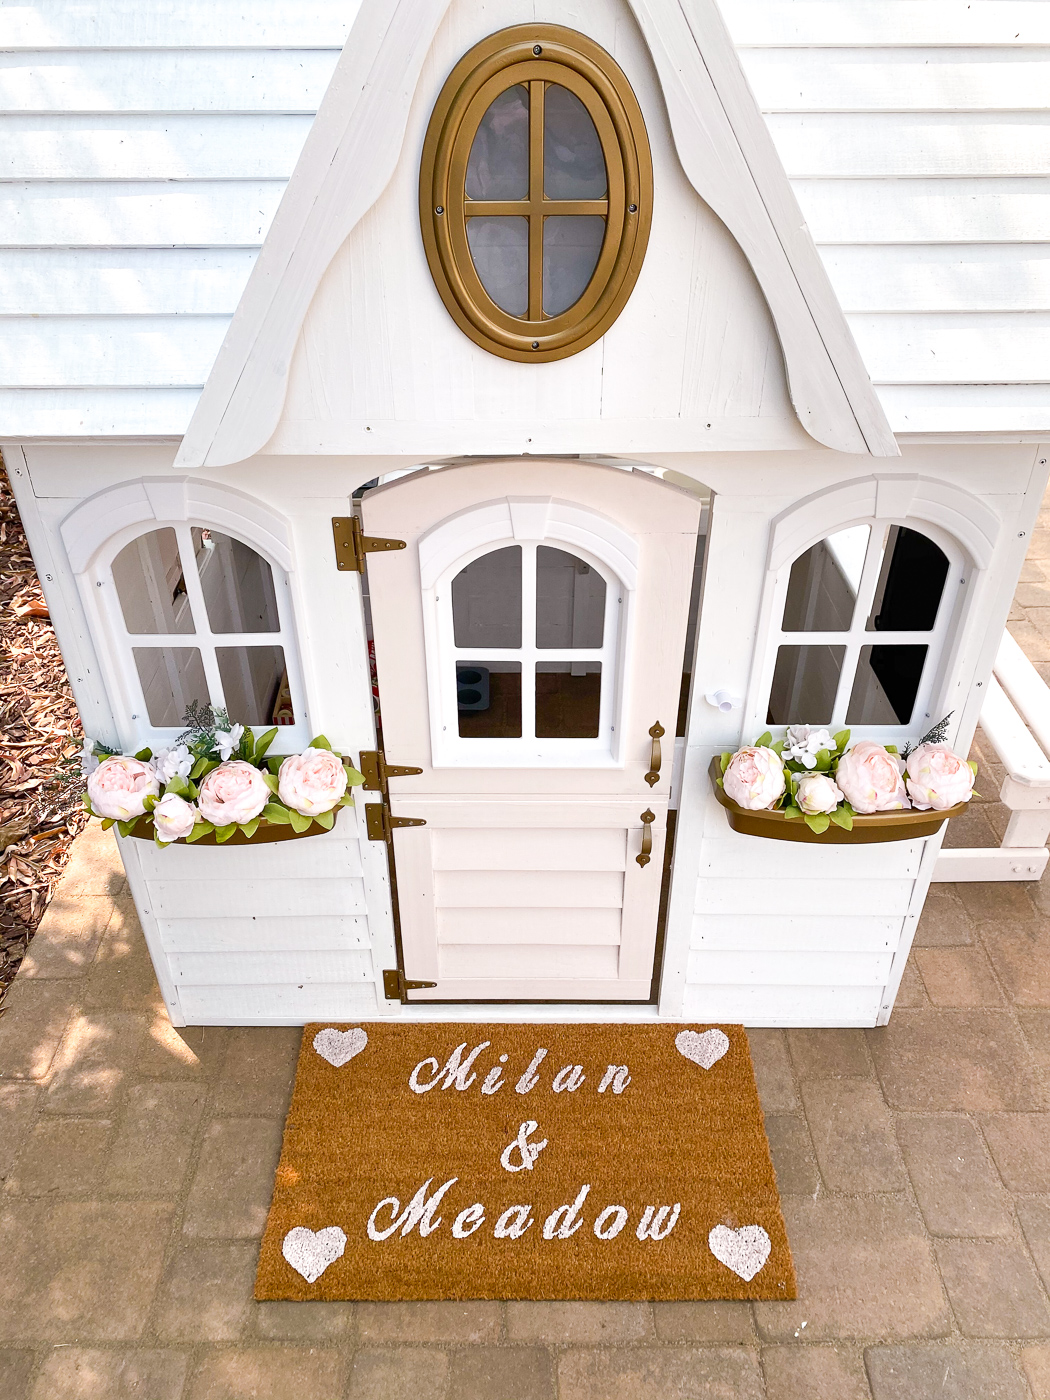
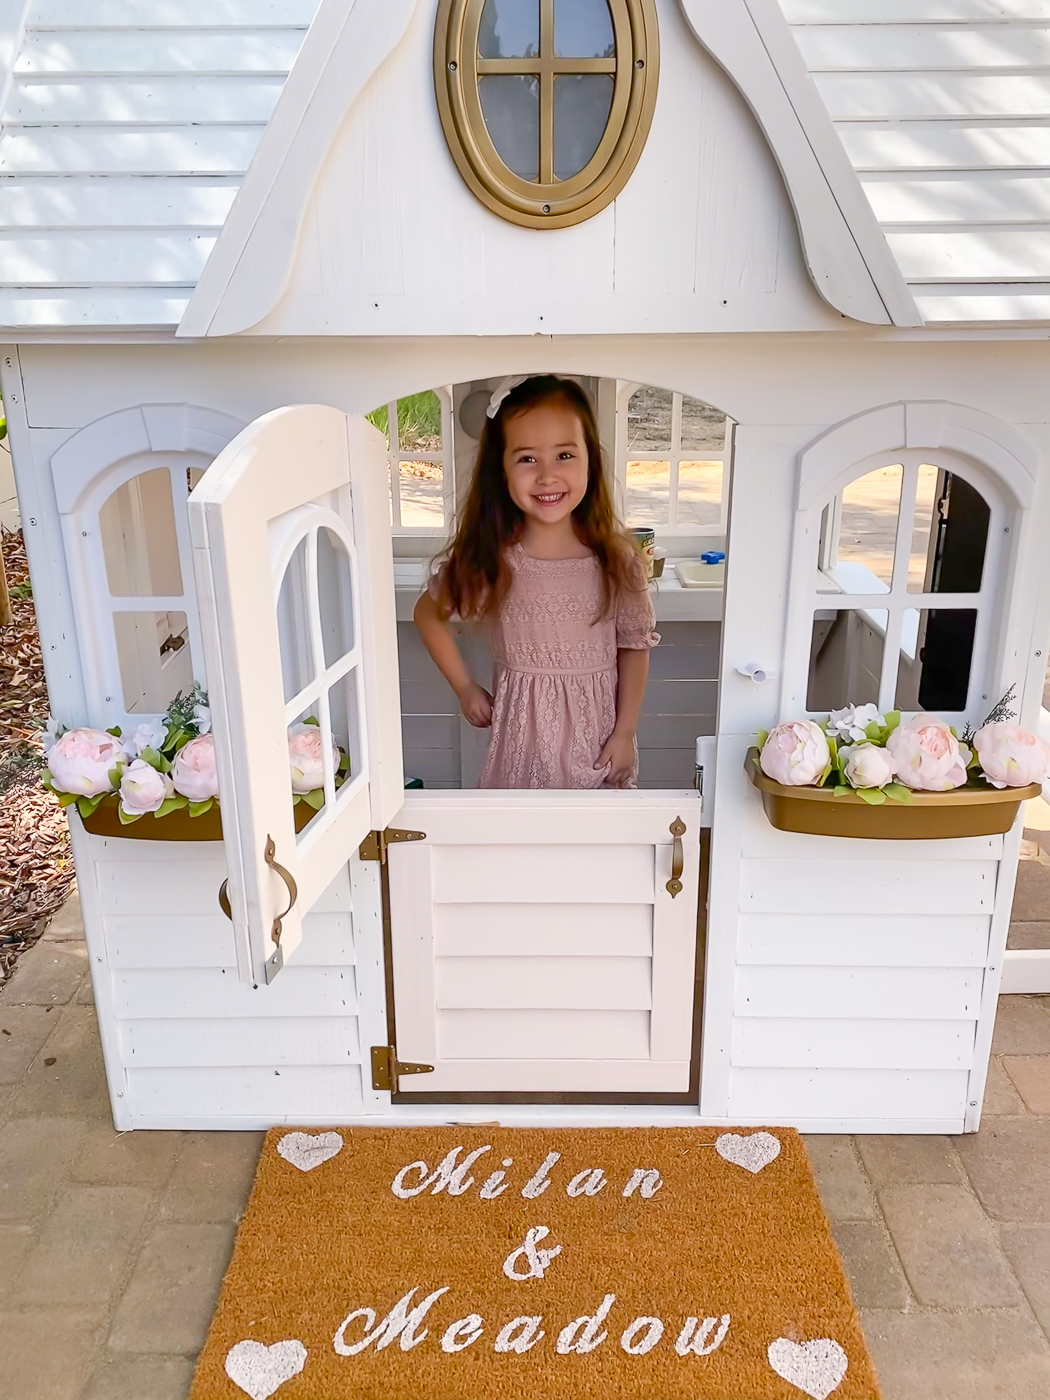
For the DIY doormat, I got this cheap one HERE. There’s tons of tutorials on how to make your own doormat that require a cricut machine but we decided to use these stencils HERE instead.
Steps for DIY Doormat:
Step 1: Cover the entire mat with blue painter tape.
Step 2: Lay out your stencils (I used THESE) and use a marker to outline each letter or shape.
Step 3: Carefully cut out each letter with a Xacto knife. Take your time because being precise will make a difference!
Step 4: Take a bristle paint brush (or foam brush) and paint inside the letters or shapes. It’s best to use acrylic paint but we had some left over pink paint from the playhouse and it worked just fine.
Step 5: Let it dry completely (we waited several hours to be safe). If you don’t wait long enough, the paint may bleed and the letters will not look as nice.
Step 6: Peel off the tape gently and VERY carefully. Voila! You now have a custom doormat!
Materials needed for DIY doormat

Click on any item you like!
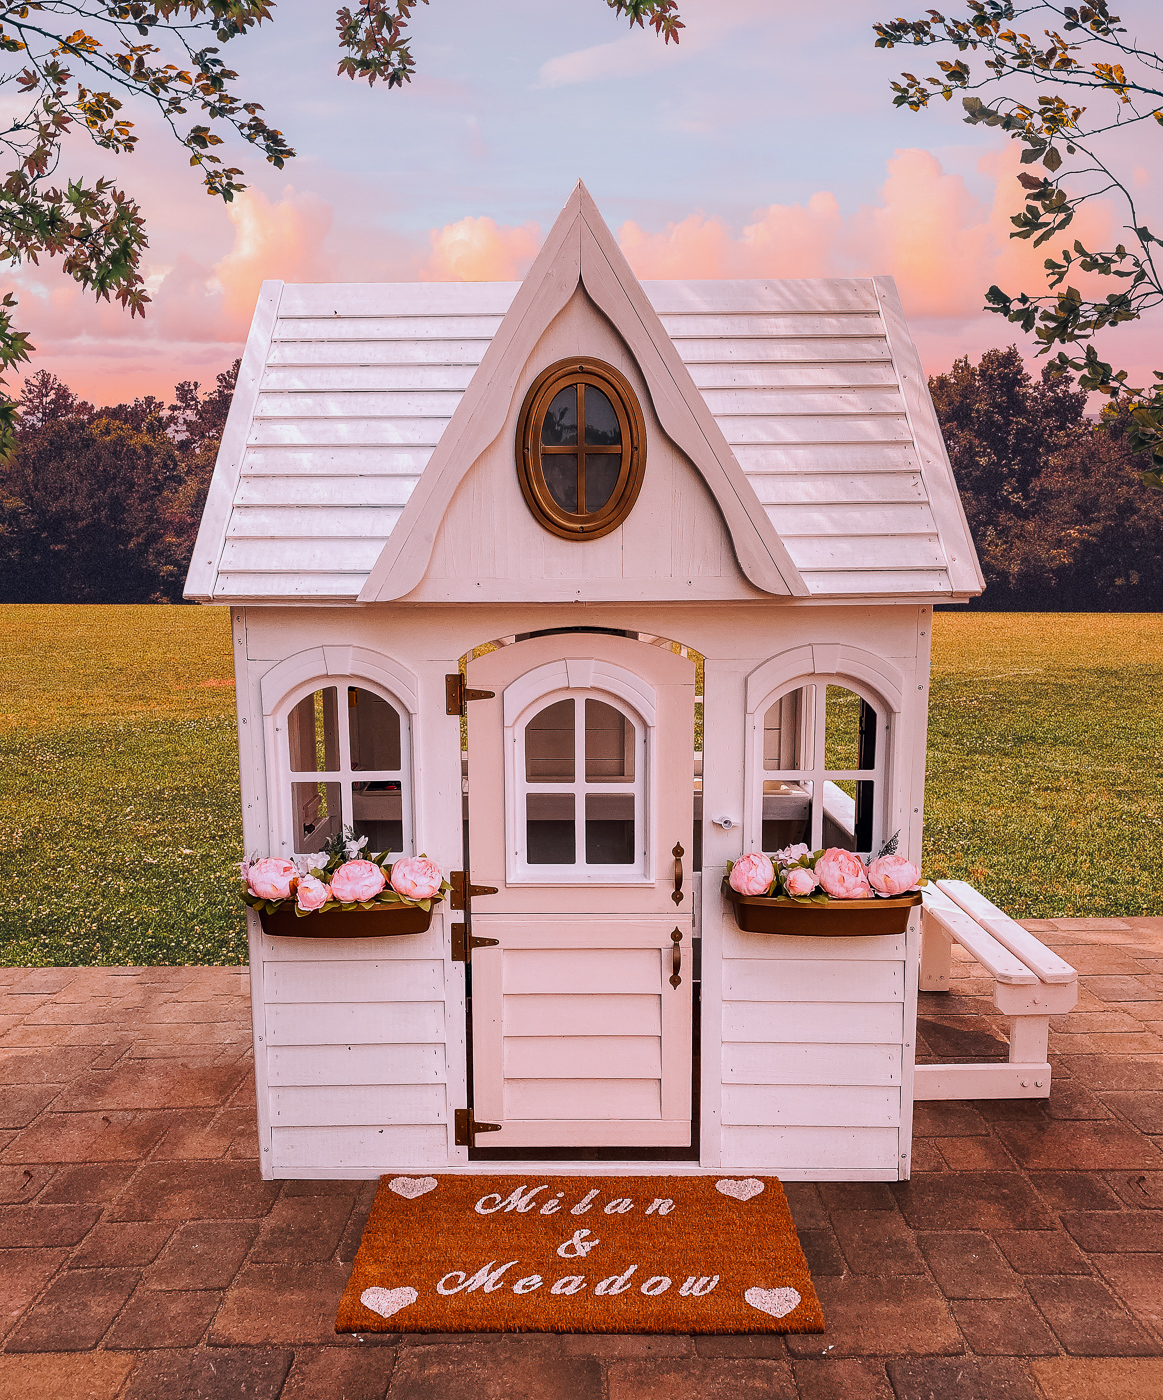
Playhouse: c/o KidKraft (another option HERE or HERE) | Doormat HERE | Flowers: Faux peonies
Materials needed for DIY playhouse


I was hoping you would make a blog post about their playhouse! It turned out SO cute!!! Is there anything Mr. Right can’t do?! He’s a jack of all trades!!!
Hehehe it’s been in the works for so long but I’m slowly getting back in the swing of things. Hehe Seriously Mr. Right can do everything! It’s so refreshing! 🙂
The playhouse –precious! Mr. Right did a great job! I can’t believe how much Milan has grown up ! Love her “big girl” hair!
I know right? I love playing in it! haha Milan is growing so fast – it’s hard to digest! I want her to stay little forever! Her hair is getting so long!
Wow Annie! This is the cutest little playhouse. So glad you showed that it could be painted. What a great idea. I love the door mat. Clever idea. Your Mr. Right is so great and talented.
This is absolutely the best information I have looking forward to get, and I must say that that you are doing a very nice job here in this fantastic blog. just keep it on, you are good
This is sheer magic for you! This is the most incredible article I’ve ever seen. You’ve made my day today a lot better with this.
Wow!!! What a blog. The way you explain it the way you use this word is mind-blowing. I just love this. Thanks for spreading this knowledge to us.